Learn AutoCAD basics: DAY 3
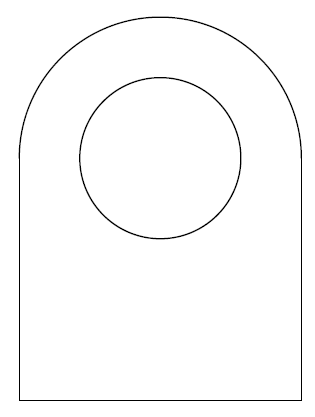
In this post we will be learning how to use the TRIM, CIRCLE command while trying to replicate the image below.
We have, in the last session, learned how to play with the LINE command and use Options of the Status bar. We will keep on playing with those features, adding up to them few others.
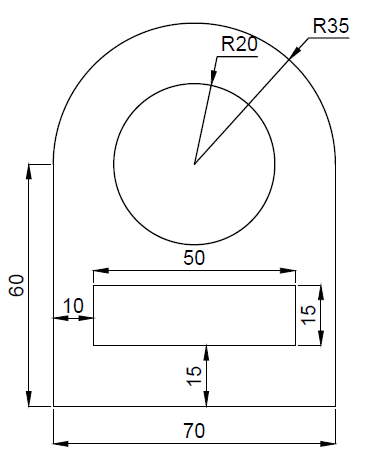
LEARNING AUTOCAD BASICS
The primary figure that will help easily replicate this exercise is the following.
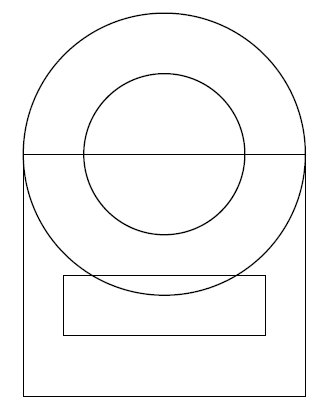
Two circles and two Rectangles.
What is the easiest way to get to this.
- Create the big rectangle using the LINE command
- Use the Center of the top side of the triangle to create the two circles.
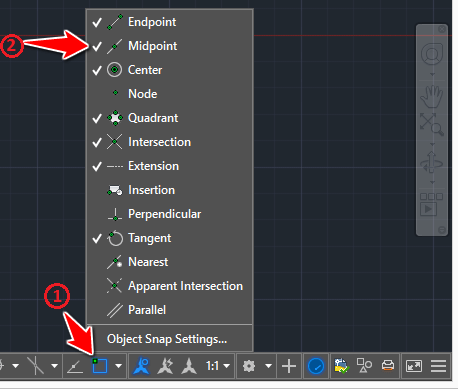
For step 2, you need to turn the Midpoint ON if you want to be able to find the center of that segment while creating the circle
Here is how to do it (right click on 1 and tick 2)
Now you should be at the following point
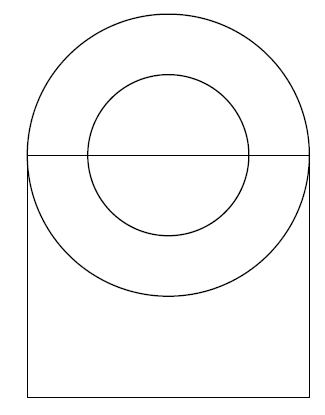
Trim the big circle and Erase the top side of the rectangle
Now all we need to do is create the small Rectangle. Given dimensions given above, if we consider that the left corner of the figure is at the point of coordinates (0,0), we need to start the small rectangle at the point of coordinates (10,15)
What we will do.
- Move the UCS to the left down corner of the figure
- Start the line at the point (10,15)
HOW TO MOVE THE UCS TO THE LEFT DOWN CORNER OF THE FIGURE
- Type UCS
- Select the point
- Move the cursor on the x direction and click
- Move the cursor on the y direction and click
This is what you are supposed to get
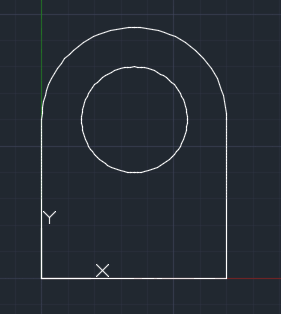
Notice the UCS
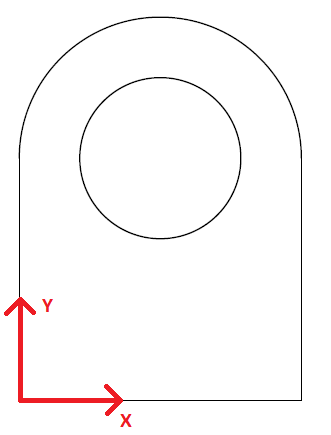
Now you can easily start the line at the point (10,15) and create the small rectangle.
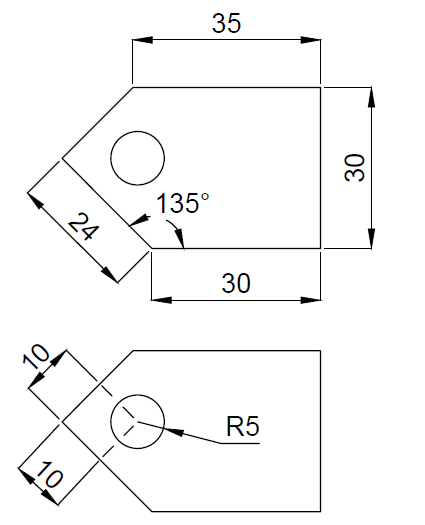
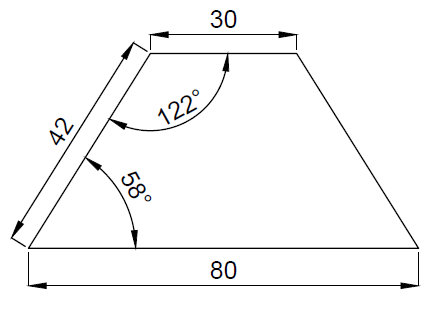
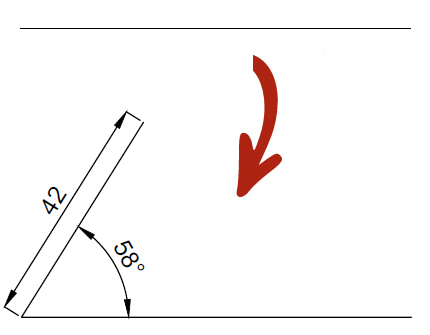
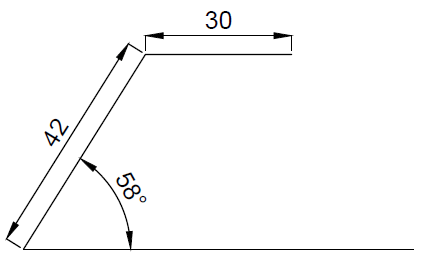
EXERCISE